Judul : Eggplants Growing Tips
link : Eggplants Growing Tips

Today we will discuss some growing tips on Egg plants or Brinjals. There are many varieties of eggplants. It can be round, egg shaped, long or short. The color varies from purple to red and from black to creamy white.
It can be grown from both seeds and transplants. If you are trying to grow egg plants from seeds and not from seedlings, it will be the trickiest part of growing eggplants. For smoother germination, I will suggest you to use seedling trays with a good potting mix. Eggplants require warm soil (70-75 degree F), so if you live in a place where there is a problem of frost; start planting the seeds 2 months before the frosting date. This will help the plants become strong enough and resistant to the external climate. Also prepare some protection to the plants from the frost.
Eggplants are good for container gardening. Generally a 5 gallon pack is enough for a single plant. Likewise if you want to grow them in garden beds it will also give you good result. While planting in beds, give at least 2 feet space before planting another plant. A single mature plant can reach up to a height of 5 feet and generally forms short bushes. The soil preparation is almost same as for the tomato plants. If you have not already read about tomato growing you can find them here.
Mulching is very important for egg plants if you are living in cooler areas of the plant. Mulching not only provides protection against water loss, it will also help the soil to remain warm. Crop rotation is a good option if you are growing egg plants. Egg plants are generally attacked by aphids, mites or caterpillars, crop rotation process will definitely help to reduce pests. Just avoid tomatoes or peppers while growing egg plants in succession. Egg plant is also a good option for companion planting. More on companion planting can be found here.
Harvesting:
 After 3 to 4 months you can harvest the fruits. The best time to harvest is to pick them when they have reached 2/3 of their mature size. If the egg plant matures fully and you are late in harvesting, the seeds will turn brown and will be bitter in taste. So it is always better to harvest them before they reached their optimal size. Cut the fruit with a sharp knife from the woody stem.
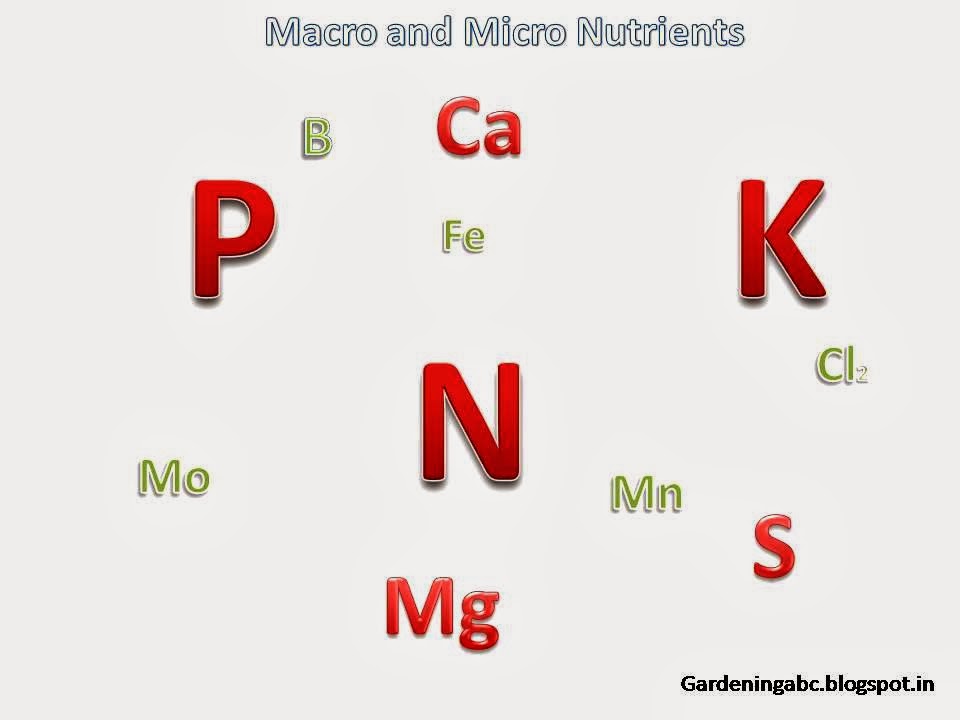
 The plants generally produce a lot of eggplants. If you have treated the plants properly, you should not be worrying about the yield. Generally 5 to 6 plants produce enough eggplants for the whole family to Enjoy. They are rich in vitamin B6, K and dietary fibers. It is also a good source for minerals such as potassium, Copper and Manganese.
Did you like this article? Share it with your friends:
Today we will discuss some growing tips on Egg plants or Brinjals. There are many varieties of eggplants. It can be round, egg shaped, long or short. The color varies from purple to red and from black to creamy white.
It can be grown from both seeds and transplants. If you are trying to grow egg plants from seeds and not from seedlings, it will be the trickiest part of growing eggplants. For smoother germination, I will suggest you to use seedling trays with a good potting mix. Eggplants require warm soil (70-75 degree F), so if you live in a place where there is a problem of frost; start planting the seeds 2 months before the frosting date. This will help the plants become strong enough and resistant to the external climate. Also prepare some protection to the plants from the frost.
Eggplants are good for container gardening. Generally a 5 gallon pack is enough for a single plant. Likewise if you want to grow them in garden beds it will also give you good result. While planting in beds, give at least 2 feet space before planting another plant. A single mature plant can reach up to a height of 5 feet and generally forms short bushes. The soil preparation is almost same as for the tomato plants. If you have not already read about tomato growing you can find them here.
Mulching is very important for egg plants if you are living in cooler areas of the plant. Mulching not only provides protection against water loss, it will also help the soil to remain warm. Crop rotation is a good option if you are growing egg plants. Egg plants are generally attacked by aphids, mites or caterpillars, crop rotation process will definitely help to reduce pests. Just avoid tomatoes or peppers while growing egg plants in succession. Egg plant is also a good option for companion planting. More on companion planting can be found here.
Harvesting:
After 3 to 4 months you can harvest the fruits. The best time to harvest is to pick them when they have reached 2/3 of their mature size. If the egg plant matures fully and you are late in harvesting, the seeds will turn brown and will be bitter in taste. So it is always better to harvest them before they reached their optimal size. Cut the fruit with a sharp knife from the woody stem. The plants generally produce a lot of eggplants. If you have treated the plants properly, you should not be worrying about the yield. Generally 5 to 6 plants produce enough eggplants for the whole family to Enjoy. They are rich in vitamin B6, K and dietary fibers. It is also a good source for minerals such as potassium, Copper and Manganese.
Did you like this article? Share it with your friends: