Judul : How To Grow A Vegetable Garden
link : How To Grow A Vegetable Garden
beginner's guide
Today’s article is all about how to prepare a garden for growing vegetables. If you are currently planning to start a garden this article will help you immensely. Also if you are currently a gardener but not satisfied with the result you may want to follow article to know if there is any step which you have missed.

There are five basic steps to prepare the soil for your garden to grow vegetables. These are:
- Spot selection and marking the boundaries: First step towards this process is to select a proper spot for your garden. Most of the vegetables require minimum six hours of full sun to grow and fruit properly. Though artificial light would also help, we strongly recommend you choose a spot where you get natural sun light. It is both a purpose of organic gardening to use the natural resources and it also will reduce you total cost. After selecting the spot mark its boundaries with some pebbles or you can also use proper fencing to separate the area from the rest.
- Cleaning and removing weeds the site: The next step is to remove any rock, pebbles, old plant and other debris from the site. With the help of a spade or tiller remove any weed which is present in this place. This process of removing weeds is very crucial to the overall success of your Gardening efforts. You can check our earlier article Weed controlling in organic way for more information this subject.
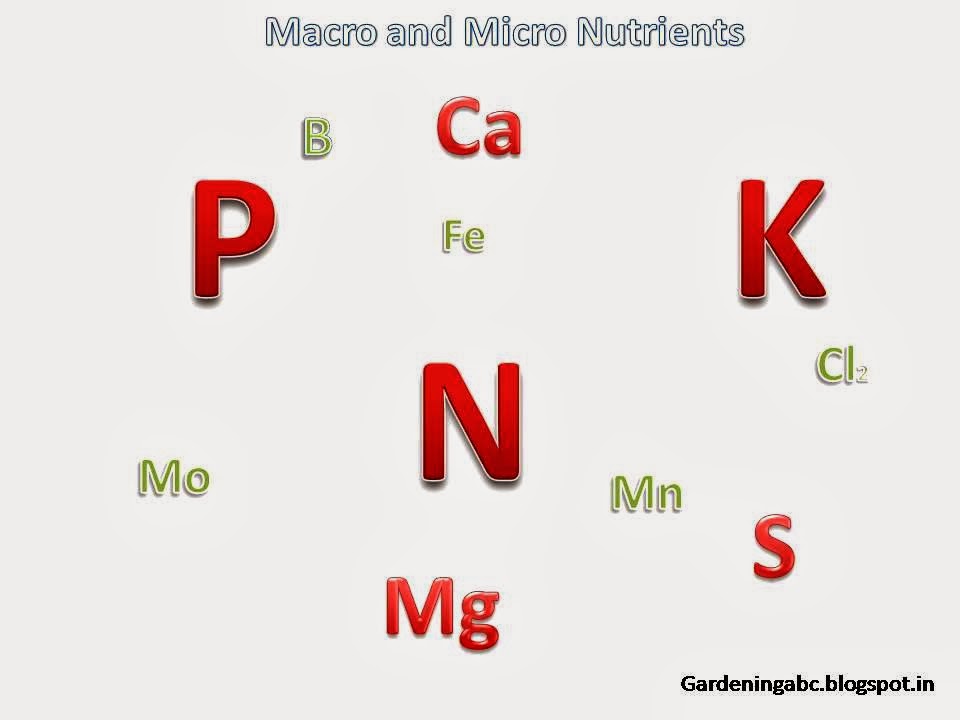
- Sampling and Testing of Soil: This step is mostly ignored by gardeners. But this is perhaps one of the step which will give you immense benefit for years to come. Before planting any seed or applying any fertilizers you need to know what is the current level of nutrients in your soil. Soil nutrients differ according to its geography. So it is strongly recommended you do a soil sampling and testing. The testing result will be accurate if you collect the soil properly. Using a spade or a trowel collect handful of soil from at least 10 places (avoid places like where ashes or very dampish area) through out your garden. Put all the soil sample in a plastic bag (do not use any metal container) and mix it thoroughly. The next step is to sent the soil sample to your nearest agricultural office for testing. Some of the basic test like pH level, level of phosphorus and potassium needs to be performed. You can also use the DIY kit to test the soil.
- Apply the Recommendation: Once you get the soil testing report you can now follow the recommendation prescribed along with it. For instance if your soil is too acidic and you need to bring it down to a more suitable level you need to add lime to your soil.
- Choose the right condition: While applying the recommendation make sure your soil is not very wet. The measurement can be faulty and also it will create problem in later stages. Use the soil when it is dry and then apply water after mixing the ingredients properly.
If you follow these simple but crucial steps the chances of success increases exponentially.
Share the Knowledge with other gardeners and help them improve their practise.
Today’s article is all about how to prepare a garden for growing vegetables. If you are currently planning to start a garden this article will help you immensely. Also if you are currently a gardener but not satisfied with the result you may want to follow article to know if there is any step which you have missed.
There are five basic steps to prepare the soil for your garden to grow vegetables. These are:
- Spot selection and marking the boundaries: First step towards this process is to select a proper spot for your garden. Most of the vegetables require minimum six hours of full sun to grow and fruit properly. Though artificial light would also help, we strongly recommend you choose a spot where you get natural sun light. It is both a purpose of organic gardening to use the natural resources and it also will reduce you total cost. After selecting the spot mark its boundaries with some pebbles or you can also use proper fencing to separate the area from the rest.
- Cleaning and removing weeds the site: The next step is to remove any rock, pebbles, old plant and other debris from the site. With the help of a spade or tiller remove any weed which is present in this place. This process of removing weeds is very crucial to the overall success of your Gardening efforts. You can check our earlier article Weed controlling in organic way for more information this subject.
- Sampling and Testing of Soil: This step is mostly ignored by gardeners. But this is perhaps one of the step which will give you immense benefit for years to come. Before planting any seed or applying any fertilizers you need to know what is the current level of nutrients in your soil. Soil nutrients differ according to its geography. So it is strongly recommended you do a soil sampling and testing. The testing result will be accurate if you collect the soil properly. Using a spade or a trowel collect handful of soil from at least 10 places (avoid places like where ashes or very dampish area) through out your garden. Put all the soil sample in a plastic bag (do not use any metal container) and mix it thoroughly. The next step is to sent the soil sample to your nearest agricultural office for testing. Some of the basic test like pH level, level of phosphorus and potassium needs to be performed. You can also use the DIY kit to test the soil.
- Apply the Recommendation: Once you get the soil testing report you can now follow the recommendation prescribed along with it. For instance if your soil is too acidic and you need to bring it down to a more suitable level you need to add lime to your soil.
- Choose the right condition: While applying the recommendation make sure your soil is not very wet. The measurement can be faulty and also it will create problem in later stages. Use the soil when it is dry and then apply water after mixing the ingredients properly.
If you follow these simple but crucial steps the chances of success increases exponentially.
Share the Knowledge with other gardeners and help them improve their practise.