Judul : Various Minerals and Their Roles in Plants Life
link : Various Minerals and Their Roles in Plants Life
Today’s article is about various minerals which we keep mentioning in plant growth. These minerals some times required in huge quantity while some times they need only in small quantity by the plants. But never the less lack of these minerals can cause disaster as far as your gardening is concerned.
Depending upon their required amount, all the elements can be classified in two groups:
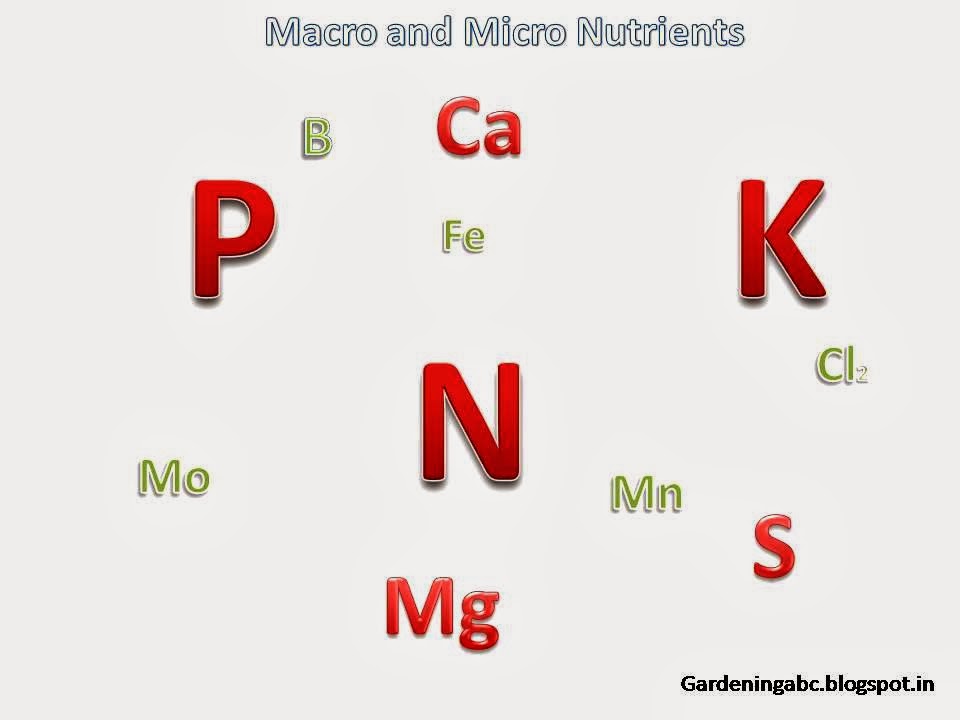
1. Macro-nutrients:
Nitrogen (N):
Generally nitrogen is available in the soil in the form of ammonium or nitrate salts. Nitrogen plays an important role in formation of the chlorophyll in plants. It is an essential part of protein formation as all the protein which the plants synthesis will not be possible without the availability of nitrogen. Nitrogen also promotes rapid growth. You can easily trace the deficiency of nitrogen if the plant shows light green leaves, short and woody stalk and start to die.
Phosphorous (P):
Phosphorous are present in the soil in the form of phosphate salts. Phosphorous is very important for the growth of the roots in the early stages of a plant’s life. In the later stages it helps in flowering and forming seeds. Deficiency of phosphorous leads to dark pigmented leaves. If the deficiency is in the later stages of a plants life it slows down fruiting process.
Potassium (K):
Potassium is abundant in the soil in the form of different potassium salts. Like the above two this is also a very important element in plant growth. It increases the strength of the stalk and improves the quality of grain. Potassium also improves resistance capacity of the plants in hostile conditions. Lack of potassium causes dried leaves (especially at the borders), slender stalk, and leads to lesser grains in maturity.
These 3 molecules are required in large quantity compared to the other molecules and lack of these three is the major cause for inappropriate growth in most of the plant. These are generally referred to as NPK and they are also called the PRIMARY MACRO-NUTRIENTS.
Here we have not included Carbon (C), Oxygen (O2) and Hydrogen (H2) which required by the plants in large quantity but they get these from the air and water. We have focused on all the elements which the plants get from the soil.
Calcium (Ca):
Though not as highly recommended as NPK, calcium is also plays an important role in plant growth. It improves root formation in plants and plays a major role in cell division. Many diseases in plants occur in seedling stages due to lack of calcium. Many places normally have calcium reach soil. Incase your place is not among them you can add lime to increase the calcium content of the soil. Apart from lime you can also add egg shells to increase calcium content of the soil.
Magnesium (Mg):
Magnesium helps in chlorophyll formation of the plant. It also increases the intake of other elements from the soil and particularly helps in phosphate absorption. Lack of magnesium severely affects chlorophyll formation and results in Chlorosis. Adding dolomite can solve the Problem of magnesium deficiency.
Sulfur (S):
Sulfur plays an important role in amino acid formation. Different vitamin requires sulfur for their absorption. Sulfur can be found in the soil in the form of sulfate (So4) ions. Deficiency can cause pale green leaves and lesser growth in plants. In most of the cases, sulfur is deposited in the soil with rain water (SO2 in the air get mixed with rain).
Ca, Mg, and S though required by the plants in large quantity though the amounts are not as large as NPK. These elements are called SECONDARY MACRO-NUTRIENTS.
2. Micro-nutrients / Trace Elements:
The following elements are required by the plants but in very small quantity. These are called micro-nutrients or trace elements. Though their required quantity is very small, deficiency of these can cause various problems and hinder proper development in plants.
Zinc (Zn):
It plays an important role in activation of Auxin (major growth hormone) hormone and various enzymes.Chlorine (Cl2):
Have some role in phosphorous intake.Boron (B):
Plays an important role in cell division process. It also helps in transportation of carbohydrates in plants.Molybdenum (Mo):
It helps in nitrogen fixation for the plants.Iron (Fe):
Plays important role in chlorophyll formation.Manganese (Mn):
Plays an important role in germination of seeds and helps in activating different enzymes.We will discuss every element in detail later. But I hope this has given you a basic idea on all the elements which we generally discuss in plants nutrition.
Today’s article is about various minerals which we keep mentioning in plant growth. These minerals some times required in huge quantity while some times they need only in small quantity by the plants. But never the less lack of these minerals can cause disaster as far as your gardening is concerned.
Depending upon their required amount, all the elements can be classified in two groups:
1. Macro-nutrients:
Nitrogen (N):
Generally nitrogen is available in the soil in the form of ammonium or nitrate salts. Nitrogen plays an important role in formation of the chlorophyll in plants. It is an essential part of protein formation as all the protein which the plants synthesis will not be possible without the availability of nitrogen. Nitrogen also promotes rapid growth. You can easily trace the deficiency of nitrogen if the plant shows light green leaves, short and woody stalk and start to die.
Phosphorous (P):
Phosphorous are present in the soil in the form of phosphate salts. Phosphorous is very important for the growth of the roots in the early stages of a plant’s life. In the later stages it helps in flowering and forming seeds. Deficiency of phosphorous leads to dark pigmented leaves. If the deficiency is in the later stages of a plants life it slows down fruiting process.
Potassium (K):
Potassium is abundant in the soil in the form of different potassium salts. Like the above two this is also a very important element in plant growth. It increases the strength of the stalk and improves the quality of grain. Potassium also improves resistance capacity of the plants in hostile conditions. Lack of potassium causes dried leaves (especially at the borders), slender stalk, and leads to lesser grains in maturity.
These 3 molecules are required in large quantity compared to the other molecules and lack of these three is the major cause for inappropriate growth in most of the plant. These are generally referred to as NPK and they are also called the PRIMARY MACRO-NUTRIENTS.
Here we have not included Carbon (C), Oxygen (O2) and Hydrogen (H2) which required by the plants in large quantity but they get these from the air and water. We have focused on all the elements which the plants get from the soil.
Calcium (Ca):
Though not as highly recommended as NPK, calcium is also plays an important role in plant growth. It improves root formation in plants and plays a major role in cell division. Many diseases in plants occur in seedling stages due to lack of calcium. Many places normally have calcium reach soil. Incase your place is not among them you can add lime to increase the calcium content of the soil. Apart from lime you can also add egg shells to increase calcium content of the soil.
Magnesium (Mg):
Magnesium helps in chlorophyll formation of the plant. It also increases the intake of other elements from the soil and particularly helps in phosphate absorption. Lack of magnesium severely affects chlorophyll formation and results in Chlorosis. Adding dolomite can solve the Problem of magnesium deficiency.
Sulfur (S):
Sulfur plays an important role in amino acid formation. Different vitamin requires sulfur for their absorption. Sulfur can be found in the soil in the form of sulfate (So4) ions. Deficiency can cause pale green leaves and lesser growth in plants. In most of the cases, sulfur is deposited in the soil with rain water (SO2 in the air get mixed with rain).
Ca, Mg, and S though required by the plants in large quantity though the amounts are not as large as NPK. These elements are called SECONDARY MACRO-NUTRIENTS.
2. Micro-nutrients / Trace Elements:
The following elements are required by the plants but in very small quantity. These are called micro-nutrients or trace elements. Though their required quantity is very small, deficiency of these can cause various problems and hinder proper development in plants.
Zinc (Zn):
It plays an important role in activation of Auxin (major growth hormone) hormone and various enzymes.Chlorine (Cl2):
Have some role in phosphorous intake.Boron (B):
Plays an important role in cell division process. It also helps in transportation of carbohydrates in plants.Molybdenum (Mo):
It helps in nitrogen fixation for the plants.Iron (Fe):
Plays important role in chlorophyll formation.Manganese (Mn):
Plays an important role in germination of seeds and helps in activating different enzymes.We will discuss every element in detail later. But I hope this has given you a basic idea on all the elements which we generally discuss in plants nutrition.


